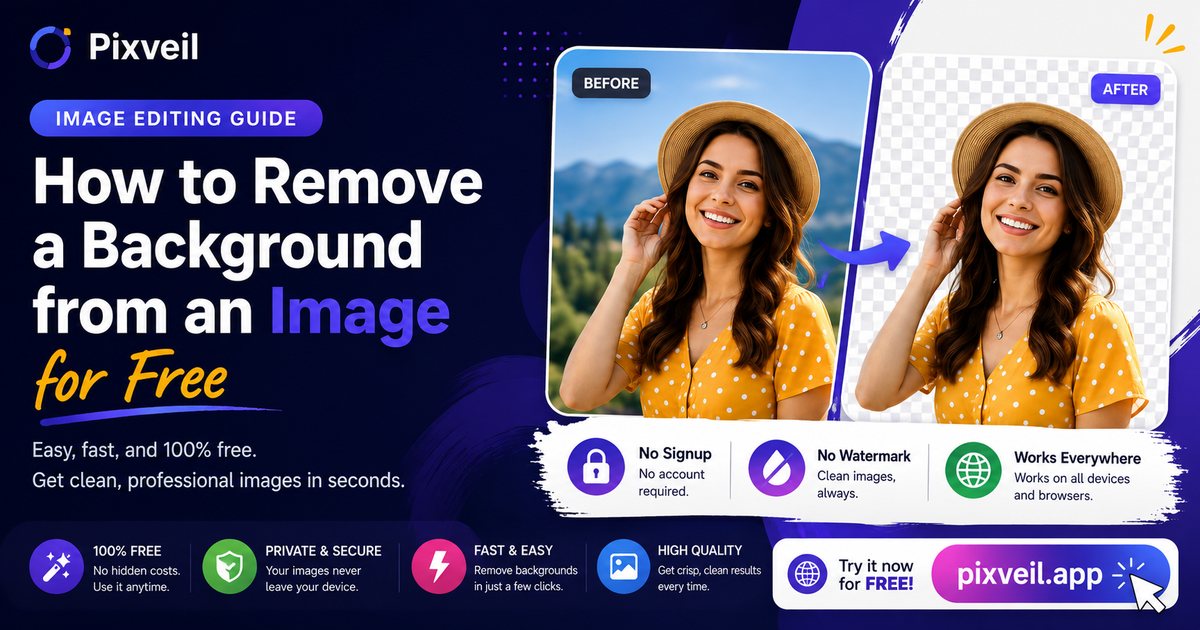
Removing the background from a photo used to mean opening Photoshop, carefully tracing around your subject, and hoping the edges looked right. In 2026 you can do it in a few seconds, for free, right in your browser — no software to install and no account to create. This guide walks through the fastest way to remove an image background, which photos give the cleanest result, and how to save a proper transparent PNG you can use anywhere.
Why remove a background?
A clean cut-out makes an image far more useful than the original snapshot:
- Product photos. A plain white background is exactly what marketplaces like Amazon, Etsy, eBay, and Shopify expect — and it instantly makes your item look more professional.
- Logos. A transparent logo drops neatly onto any color, website header, or document without an ugly white box around it.
- Profile pictures. Swap a messy room for a clean backdrop for LinkedIn, a website, or a team page.
- Design work. Cut-outs are the building blocks of thumbnails, posters, stickers, and mock-ups.
The fastest way (free, in your browser)
You don't need an app or a subscription. A browser tool does it in three steps:
- Open the Background Remover.
- Drop in your image, or click to browse for it.
- Adjust the tolerance slider until the edges look clean, then hit Download.
Which images work best
An in-browser remover works by color — it separates your subject from the background based on how different the two are. So the cleaner and more even the background, the better the result:
- Great candidates: a product on a white sweep, a logo on a solid box, a person against a plain wall, or a flat illustration.
- Harder cases: busy or cluttered backgrounds, a background that's a similar color to your subject, glass, reflections, and fine strands of hair.
If your photo falls into the "harder" group, you'll get a much cleaner cut-out by re-shooting against a plainer background — even a bedsheet or a blank wall makes a big difference. It's an honest limitation of any tool that runs on your device instead of a giant server farm, and knowing it up front saves you frustration.
How to get a clean cut-out
- Start sharp and well-lit. Even lighting with no harsh shadows gives the tool a clear edge to follow.
- Move the tolerance slider slowly. Too low and specks of background stay behind; too high and it starts eating into your subject. Small nudges win.
- Check the edges before you download. Zoom in on the outline and catch any stray pixels while you can still adjust.
Save it as a transparent PNG
Transparency only survives in certain file formats. Always download your cut-out as a PNG — it keeps the see-through background so you can place your subject on any color. A JPG has no transparent layer, so saving as a JPG would simply fill the background back in with white.
If the PNG comes out large, run it through the Image Compressor afterwards — it shrinks the file with no visible drop in quality, which helps when you're uploading to a store or a website with a size limit.
Putting it to work
Once you have a transparent PNG, the possibilities open up: drop your product onto a branded color, place your logo in a slide deck, build a clean thumbnail, or put every team member's headshot on the same background for a consistent look. Pair the Background Remover with the Image Resizer to hit the exact dimensions a platform asks for, and you've replaced a whole paid app with two free browser tools.
Bottom line: removing a background is a two-minute job in 2026 — pick an image with a clean backdrop, fine-tune the edges, and export a transparent PNG.
Frequently asked questions
Open a browser-based background remover, drop in your image, adjust the edge/tolerance until the cut-out looks clean, and download a transparent PNG. Pixveil's Background Remover does this free, with no sign-up and no watermark.
No. Pixveil processes the image in your browser on your own device, so your photos are never uploaded to a server.
PNG. It supports transparency, while JPG does not — so always save your cut-out as a PNG to keep the see-through background.
Fine hair and cluttered backgrounds are hard for any on-device tool. For the cleanest result, use a subject on a plain, evenly lit background, or re-shoot against a blank wall.