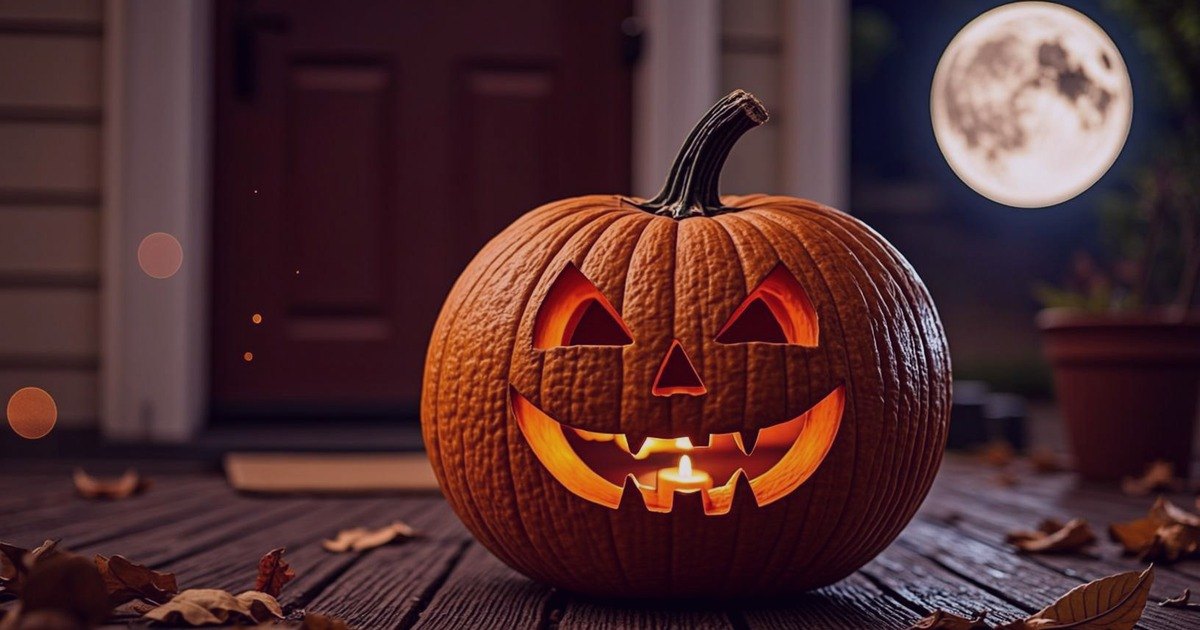
Everybody carves too early. The pumpkin looks incredible on the doorstep for about thirty-six hours, and then the grin starts to sag, the edges go leathery, and by the time the first trick-or-treater arrives you are lighting a candle inside something that looks genuinely unwell.
The fix is not a better pumpkin or a sharper knife. It is picking the right date — and the right date depends almost entirely on how warm it is where you live.
The quick answer
For most of the United States, Monday, October 26, 2026 is the safe default. That gives you five days to Halloween — long enough that the carving does not become a last-minute panic, short enough that the pumpkin still has a face on the 31st.
If your area is unusually warm at the end of October, push it to Wednesday, October 28. If it is properly cold, you can go as early as Saturday, October 24 and enjoy it for a full week.
When is Halloween 2026?
Halloween 2026 falls on Saturday, October 31.
That Saturday matters more than people expect. A Saturday Halloween means trick-or-treating usually starts earlier in the afternoon and runs later, and it means parties land on the night itself rather than the weekend before. Your pumpkin has to look good for a longer stretch of a single day — and it has to survive whatever the previous weekend's weather did to it.
It also means the natural carving weekend, Saturday the 24th and Sunday the 25th, is a full seven days out. For a lot of people that is one or two days too early. Read the table below before you commit to it.
Why carving starts a clock
An uncarved pumpkin is a sealed object. The rind is a barrier, and a whole pumpkin kept somewhere cool and dry will happily sit for weeks.
The moment you cut into it, two separate processes start at once, and they are worth understanding separately because the fixes are different.
Moisture loss. The exposed flesh starts drying immediately. This is what causes the shriveling — the edges of the eyes and mouth curl inward, fine details blur, and the whole face loses its definition. Drying is a physical process, and you slow it by sealing the cut surfaces.
Fungal growth. The cut opens the interior to mold. Utah State University Extension names the usual culprits — Cladosporium, Penicillium, Aspergillus and Alternaria — as the molds behind the familiar pattern: the pumpkin shrivels, softens, and starts growing fuzzy gray mold. This is a biological process, and you slow it by disinfecting and by keeping the pumpkin cool.
Almost every preservation trick you have heard of targets one of those two things. The good ones target both.
Your carving date, by temperature
SDSU Extension puts the optimal storage range for a carved pumpkin at 50 to 60°F, and notes that warmer conditions speed up decay while freezing damages the tissue outright. That single number is the most useful thing in this whole guide, because it turns "when should I carve?" into a weather question you can actually answer.
Look up the forecast highs for the week of October 24–31 in your area, then read across:
| Daytime highs that week | Carve on | Days to Halloween | Look-good window |
|---|---|---|---|
| Above 70°F (21°C) | Wed, Oct 28 | 3 days | 2–3 days |
| 60–70°F (15–21°C) | Mon, Oct 26 | 5 days | 3–5 days |
| 50–60°F (10–15°C) | Sat, Oct 24 | 7 days | 5–7 days |
| Below 50°F (10°C) | Wed, Oct 21 | 10 days | 7–10 days |
A note on honesty here: the extension services give the temperature range and the preservation methods, but they do not publish a guaranteed day count, and neither should anyone else. Pumpkin variety, wall thickness, humidity and how thoroughly you cleaned the inside all shift the outcome. Treat the last column as a planning figure, not a promise.
One practical adjustment: if your forecast sits right on a boundary, carve on the later date. A pumpkin that peaks slightly early is a wasted evening; a pumpkin carved a day late is just a pumpkin carved a day late.
What actually keeps a carved pumpkin alive
These are the methods both Utah State University Extension and SDSU Extension actually recommend, in the order you should do them.
1. Wash the pumpkin before you cut it
Surface soil carries the mold spores that later colonize the inside. A rinse and a wipe-down before the knife goes in removes most of them.
2. Sterilize your tools
An overlooked step. Whatever is on the knife goes straight onto the freshly cut flesh, which is the most vulnerable surface on the whole pumpkin.
3. Scrape the inside completely clean
This is the step people rush, and it is the one that matters most. Leftover pulp and stringy fibers hold moisture directly against the interior wall — a warm, wet, enclosed surface, which is more or less the ideal condition for mold. Scrape until the inside wall feels smooth, not fibrous.
4. Treat it with a 10 percent bleach solution
Both extension services say the same thing: dip, wash or spray the finished carving with a 10 percent bleach solution. It kills the spores sitting on the cut surfaces, which is exactly where the trouble starts.
Handle it sensibly — wear gloves, work somewhere ventilated, and never mix bleach with any other cleaning product.
5. Seal the cut edges with petroleum jelly
Bleach handles the mold; it does nothing about drying. A thin layer of petroleum jelly rubbed over every cut surface locks moisture in and slows the shriveling. SDSU Extension recommends it directly. Do this after the bleach has dried, not before.
6. Use an LED light, not a candle
Both sources make the same point: a flame cooks the pumpkin from the inside. You are running a small oven inside a vegetable for several hours a night, drying the walls and softening the flesh from within.
An LED tea light produces no heat, costs almost nothing, will not blow out in the wind, and cannot set fire to a costume. There is no argument left for the candle except nostalgia.
7. Bring it in overnight
If your nights are mild, an overnight stint somewhere cool — a garage, a basement, or the fridge if it fits — keeps it in that 50–60°F band for a good chunk of every 24 hours. Do not freeze it. Freezing ruptures the cell walls, and the pumpkin turns to mush as it thaws.
The mistakes that kill a pumpkin early
- Carving on the first free weekend. The most common one. Mid-October carving means a week and a half of decay before anyone sees it.
- Leaving pulp inside. Feels finished long before it actually is. Keep scraping.
- Real candles. Days of internal cooking, plus a genuine fire risk on a night full of trailing fabric.
- Soaking it in plain water. Popular advice, and it does rehydrate a wilting pumpkin briefly. But plain water with no disinfectant is also a fine environment for the mold you are trying to fight.
- Direct afternoon sun. The doorstep that looks best is often the one that bakes from noon onwards. Shade extends its life significantly.
- Carving thin. Detailed, thin-walled designs dry and collapse much faster than bold, chunky cuts. If you want intricate, carve later.
The 2026 calendar on one screen
| Date | Day | What to do |
|---|---|---|
| Mid-October | — | Buy the pumpkin. Uncarved, it keeps for weeks — buying early costs you nothing. |
| October 21 | Wednesday | Cold-climate carving day. Only if your highs are below 50°F. |
| October 24 | Saturday | Cool-climate carving day. The traditional weekend — check your forecast first. |
| October 26 | Monday | The safe default for most of the US. |
| October 28 | Wednesday | Warm-climate carving day. Above 70°F, do not carve before this. |
| October 30 | Friday | Refresh: re-apply petroleum jelly, check for soft spots, swap the LED battery. |
| October 31 | Saturday | Halloween. Keep it shaded during the day, light it at dusk. |
Planning the rest of the season? Our Halloween 2026 countdown and planning guide works backwards from the 31st week by week — costumes, invitations, candy and decorations.
Frequently asked questions
Halloween 2026 falls on Saturday, October 31. If your daytime highs that week are above 70°F, carve on Wednesday, October 28. At 60–70°F, carve Monday, October 26. At 50–60°F you can carve as early as Saturday, October 24. Below 50°F, Wednesday, October 21 is safe.
Temperature decides it more than anything else. In warm weather a carved pumpkin can soften in two to three days. In cool conditions it can hold its shape for a week or more. An uncarved pumpkin lasts far longer, which is why the carving date matters and the buying date does not.
It helps, because the problem is largely fungal. Utah State University Extension and SDSU Extension both recommend dipping, washing or spraying the finished carving with a 10 percent bleach solution. It kills the mold spores on the cut surfaces. It does not stop the pumpkin drying out, so pair it with petroleum jelly on the cut edges.
Overnight refrigeration genuinely extends its life. SDSU Extension gives an optimal range of 50 to 60°F, which is close to a fridge. Do not freeze it — freezing ruptures the cell walls and the pumpkin turns to mush as it thaws.
Almost always one of three things: warm weather, a real candle cooking it from the inside, or interior pulp left behind. The pulp holds moisture against the flesh and is where mold starts first.
Yes, and not only for safety. Both Utah State and SDSU Extension note that a flame effectively cooks the pumpkin from the inside, drying and softening the walls. An LED tea light produces no heat and will add days to your pumpkin's life.
Up to a point. Cold storage slows both drying and mold, but it does not stop them, and a fridge is dry air as well as cold air. Carving a week early and refrigerating is realiztic; carving three weeks early and refrigerating is not.
Sources
- Utah State University Extension — Preserve your Jack-O-Lanterns
- South Dakota State University Extension — Pumpkin Carving Preservation