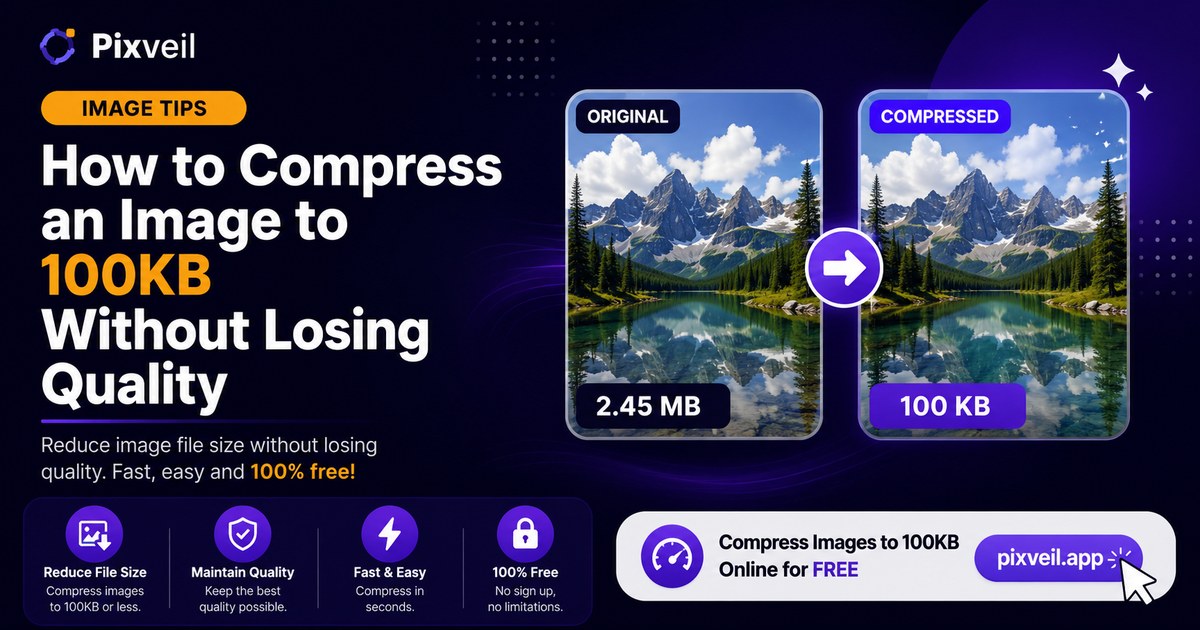
You're filling out an online form — a job application, a government portal, an exam registration — and it stops you cold: "Photo must be less than 100KB." Your phone just took a 4MB picture. Now what?
Getting an image under 100KB sounds fiddly, but it's genuinely a ten-second job once you know what's going on. This guide walks through the fastest way to do it, the manual method if you want more control, and how to shrink a file that much without the result looking obviously worse.
Why 100KB is such a common limit
That 100KB ceiling shows up everywhere: passport and visa portals, university applications, job boards, banking KYC uploads, and countless government websites. The reason is simple — these systems store millions of images, and capping each one keeps their storage and page-load times under control. 100KB is small enough to be cheap to store, but large enough to hold a clear headshot or document scan.
The catch is that modern phone cameras produce files that are 20 to 50 times bigger than that. So the limit isn't unreasonable; your photo is just carrying far more data than the form needs.
What actually makes an image large
Two things drive an image's file size:
- Dimensions (pixels). A photo that's 4032 × 3024 pixels contains about 12 million pixels. That's fantastic for printing, but a form only needs a few hundred pixels across.
- Quality / compression level. JPEG images store detail at a chosen quality setting. At 100% you keep every subtle gradient; at 75% you drop the details your eye can't detect anyway — and the file shrinks dramatically.
Understanding this is the whole trick: to hit 100KB you lower the quality a little, and if that's not enough, you reduce the dimensions. Most of the time, quality alone does it.
The fastest way: a target-size compressor
Instead of guessing quality percentages, the easiest approach is a tool that lets you type a target size and does the searching for you. Pixveil's Compress to 100KB tool does exactly that: you drop in your image, and it automatically tests quality levels (and reduces dimensions only if needed) to land just under 100KB with the best possible clarity.
Here's the entire process:
- Open Compress to 100KB.
- Drag your photo onto the page, or click to browse for it.
- Wait a second while it compresses — you'll see the final size, usually somewhere between 90KB and 99KB.
- Click Download. Done.
Need a different limit? The same idea works for 50KB and 20KB targets, or any custom size in the Reduce Image Size tool.
Doing it manually: quality and dimensions
If you'd rather control the result yourself — say you want the sharpest possible image that still fits — use a compressor with a live quality slider like the Image Compressor. Work in this order:
- Lower the quality first. Slide it down to around 70–80%. For most photos this alone cuts the size by more than half while looking identical on a screen. Watch the output size as you drag.
- If it's still too big, resize. Reduce the width to something sensible — 800 to 1200 pixels is plenty for an on-screen photo. Halving the dimensions roughly quarters the file size.
- Fine-tune. Nudge the quality back up a little if you have room under 100KB to spare. There's no prize for coming in at 40KB when the limit is 100KB — use the space for clarity.
Tips by format: JPG, PNG, and WebP
The format you start with changes the strategy:
- JPG / JPEG — the easiest to compress. Photos should almost always be JPG for size-limited uploads. Quality 70–80% is the sweet spot.
- PNG — great for screenshots and graphics with sharp edges or transparency, but PNG is lossless, so it doesn't shrink the same way. If a PNG won't fit under 100KB, the reliable fix is to convert it to JPG (if you don't need transparency) or reduce its dimensions.
- WebP — a modern format that's often 25–35% smaller than JPG at the same quality. If the site accepts WebP, converting to WebP can get you under the limit while keeping more detail. Many older portals don't accept it yet, though, so check first.
How to keep quality while shrinking
"Without losing quality" is slightly optimiztic — any compression removes some data. The realiztic goal is no visible loss, and these habits get you there:
- Resize before you compress. Dropping an oversized image to the dimensions you actually need removes bulk without touching visible quality at all.
- Don't over-compress. Stop as soon as you're under the limit. Squeezing a 100KB image down to 30KB just to be safe throws away clarity for no reason.
- Start from the original. Each time you re-save a JPEG it loses a little more. Always compress from the highest-quality copy you have, not from a file that's already been squeezed.
- Keep faces and text in mind. Skin gradients and small text are where compression shows first. For document scans, keeping the dimensions higher and the quality moderate reads better than the reverse.
Put together, the workflow is: start from the original, resize to what you need, compress to just under the limit, and download. On Pixveil every step of that happens in your browser, for free, with nothing uploaded.
Frequently asked questions
You can get very close. File size depends on the image's content, so tools aim to land just under your target (for example 96–99KB) rather than hitting 100KB to the byte. A good target-size compressor searches quality levels automatically to get as near the limit as possible without going over.
Not usually. Most of a photo's file size comes from JPEG quality that you can't see once it drops below about 80%. Going from a 4MB photo to 100KB is a big jump, so some softening is possible on large, detailed images — but for typical form and profile photos the result looks essentially identical on screen.
It depends on the tool. Many compressors upload your photo to their servers. Pixveil's compressors run entirely in your browser, so the image never leaves your device — which matters when you're compressing an ID, a document, or a personal photo.
Reduce the pixel dimensions. An image that's 4000px wide but displayed at 800px is carrying four times more detail than it needs. Shrinking the dimensions first, then compressing, almost always gets you under the limit.