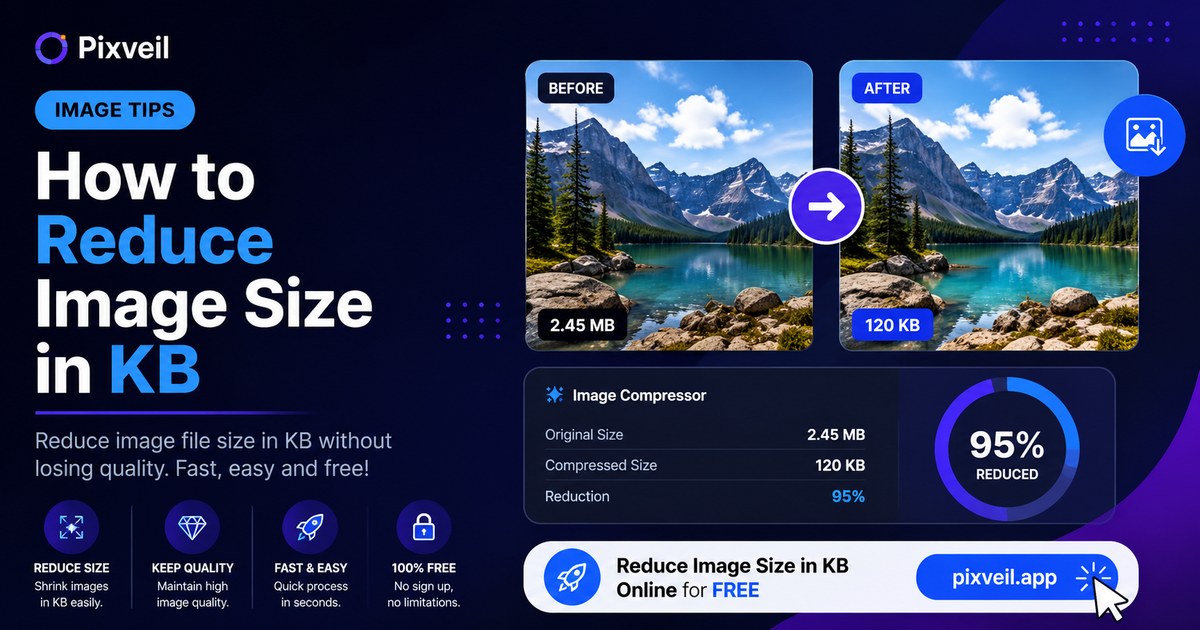
Somewhere out there is a form that will not accept your photo. It wants it under 100KB. Or 50KB. Or — the one that makes people give up entirely — 20KB. You compress it, upload it, and the form still says it's too big.
The frustrating part is that most advice tells you to drag the quality slider down until it fits, which produces a blurry, blocky mess. There's a better order of operations, and the numbers below show exactly why.
What each KB target realiztically means
Before you start, it helps to know what you're aiming for. These are the common limits and what actually fits inside them:
| Limit | Realiztic for | Roughly this size |
|---|---|---|
| 20 KB | Small ID or signature images on older forms | ~400–500px wide |
| 50 KB | Passport-style photos, profile pictures on strict systems | ~600–800px wide |
| 100 KB | Most application forms and document uploads | ~1000–1600px wide |
| 200 KB | Comfortable for a good-quality photo | ~1600–2000px wide |
| 500 KB – 1 MB | Blog images, email attachments, most websites | ~2000px+ wide |
If you're being asked for 20KB and you're starting from a 12-megapixel phone photo, understand what you're being asked to do: shrink the file to roughly 0.5% of its original size. That's achievable, but not by nudging a quality slider.
The step almost everyone skips
Here's the thing most guides get backwards. We ran the same photograph through both approaches to see which actually moves the needle.
Changing the quality only (image kept at 1200px wide):
- Quality 95 → 191 KB
- Quality 85 → 145 KB
- Quality 60 → 88 KB
- Quality 30 → 62 KB (and visibly damaged)
Changing the dimensions only (quality held at 80):
- 2400px wide → 302 KB
- 1600px wide → 183 KB
- 1200px wide → 136 KB
- 800px wide → 71 KB
- 600px wide → 47 KB
- 400px wide → 24 KB
Look at the second list. Halving the width cuts the file to roughly a quarter — because you're removing pixels in both directions at once, and pixel count scales with the square of the width. Going from 2400px to 1200px took 302KB down to 136KB while the image still looked perfectly sharp on screen.
Meanwhile, torturing the quality slider from 95 all the way to 30 only saved 129KB, and left the photo looking terrible.
The fastest way: let a tool hit the target
You don't have to do this by trial and error. A target-size compressor takes the number you need and searches for the highest quality that fits underneath it:
- Open the Image Compressor (or a size-specific one — 20KB, 50KB, 100KB).
- Drop in your photo.
- Type your target size in KB.
- Download. The tool has already found the best quality that fits.
Everything runs in your browser, so the photo never leaves your device — which matters when the file is an ID document or a passport photo.
Hitting the hard targets: 20KB and 50KB
These two are where people get stuck, because compression alone won't do it. Working from the same test photo, here's what it actually took:
| Target | What it needed | Result |
|---|---|---|
| 20 KB | 500 × 262px at quality 35 | 18 KB |
| 50 KB | 1000 × 525px at quality 28 | 45 KB |
| 100 KB | 1600 × 840px at quality 35 | 95 KB |
| 200 KB | 1600 × 840px at quality 75 | 163 KB |
Two practical takeaways. First, for a 20KB target you are working at roughly 500 pixels wide — accept that, and stop trying to keep a large image. Second, notice how much better 200KB looks than 100KB at the same dimensions (quality 75 versus 35). If the form allows a larger limit, use it. People often compress to 20KB when the form actually accepted 200KB.
How to reduce the dimensions properly
If you don't know your image's current size, check it first with the Image Dimension Checker — it tells you the pixel dimensions and current file size in one go.
Then resize with the Image Resizer. Two rules:
- Keep the aspect ratio locked unless the form demands specific dimensions. Unlocking it stretches faces and gets photos rejected.
- Watch for a minimum size requirement. Some forms want "under 100KB and at least 600×800 pixels" — which caps how far you can shrink. In that case you have to hit the target with quality and cropping alone.
Got a folder of them? The Bulk Image Resizer does the whole set at once rather than one at a time.
Choosing the right format
- JPG — use this for photographs, every time you're chasing a KB limit. It's what the numbers above are based on, and it's what forms expect.
- PNG — much larger for photos, because it stores them losslessly. Only use it for logos, screenshots with text, or when you need transparency. Converting a PNG photo to JPG alone often cuts the file by 70% or more.
- WebP — usually 25–35% smaller than JPG at the same visual quality, and excellent for websites. But check the form accepts it; many older upload systems still only take JPG or PNG.
If your photo is currently a PNG, converting it is the single easiest win available: use PNG to JPG before you compress anything.
Common mistakes and how to fix them
These are the ones that come up again and again:
- "It says 98KB but the form still rejects it." Some systems measure in kibibytes (1KB = 1024 bytes) rather than kilobytes (1000). Aim about 5–10% under the stated limit and the problem disappears.
- "I compressed it three times and now it looks awful." JPG is lossy, and every re-save throws away more detail permanently. Always go back to the original file and compress once, rather than re-compressing an already-compressed copy.
- "The file barely got smaller." Your image is probably a PNG, or a screenshot. Convert to JPG first.
- "It's under the limit but the text is unreadable." Text and fine lines suffer badly at low quality. For a scanned document, resize less and crop tighter instead — cropping out empty margins reduces file size without touching the part you need to read.
- "The photo looks fine on my phone but blurry when uploaded." Check what you actually downloaded. Some phone galleries show you a cached preview rather than the compressed file.
- "I need it under 50KB but also at least 600×800." Both constraints at once means quality is your only lever. Crop tightly to the subject, convert to JPG, then compress — a tighter crop contains less detail and compresses further at the same dimensions.
Passport photos and document scans
These have their own trap: they usually come with both a file-size limit and exact dimension requirements. Sort the dimensions first using the Passport Photo Size tool, then compress to the KB target — never the other way around, or you'll compress twice and lose quality for nothing.
For scanned documents, one more tip worth knowing: scan or photograph in good, even light. A well-lit scan compresses far smaller than a dim one, because noise and shadow gradients are expensive to store. Getting the lighting right can be worth more than any setting in a compressor.
The short version
- Check the exact limit — and whether there's also a minimum dimension.
- Convert to JPG if it isn't already.
- Reduce the dimensions first — this does most of the work.
- Set your target size in KB and let the compressor find the best quality that fits.
- Aim 5–10% under the stated limit, and check the result before uploading.
Done in that order, a 4MB phone photo becomes a clean 45KB upload in about a minute — and still looks like a photograph rather than a mosaic.
Frequently asked questions
20KB is a hard target for a photograph. Resize the image down to roughly 400–500 pixels wide first, then compress as JPG. In our test, a photo needed to be about 500px wide at quality 35 to land at 18KB. If it still won't fit, crop tighter — less content in the frame compresses smaller.
Image size usually means dimensions in pixels (like 1200×630). File size is how much disk space it takes, measured in KB or MB. Forms almost always mean file size when they say "under 100KB" — but the fastest way to change file size is to change the dimensions.
Some, but far less than people expect if you do it in the right order. Shrinking the dimensions loses detail you often weren't using anyway; dropping the quality slider too low is what creates the blocky, smudged look. Resize first, compress second.
Almost always because the dimensions are still huge. A 12-megapixel phone photo has around 4000 pixels across — no amount of quality reduction will get that under 50KB while it still looks acceptable. Reduce the width first.
For photographs, JPG. WebP is usually smaller still — often 25–35% below JPG at the same quality — but check the form accepts it, as many older upload systems only take JPG or PNG. Never use PNG for a photo when you're chasing a KB limit.
Yes. A browser-based tool works the same on a phone as on a desktop — open it in your mobile browser, pick the photo, set the target size, and download. Nothing is uploaded to a server, so it works on a slow connection too.